Build catalogue
Don Watson's 1974 TR6 Rear Disc Brake Conversion
 britishv8.orgas published in BritishV8 Magazine, Volume XVII Issue 1, July 2009
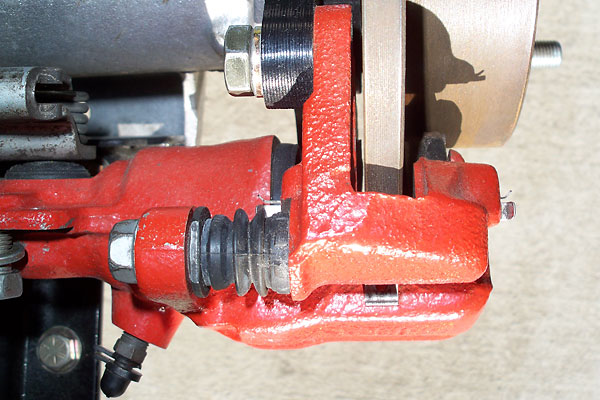 Photo: britishv8.org
A 1974 TR6 converted to rear disc brakes using Nissan parts
Don Watson set out to replace the fussy drum brakes on his 1974 TR6 with a rear disc conversion, starting from a Datsun 240Z kit that turned out not to fit and working through fabrication of his own brackets and hub adaptations. The article documents his trial and error sourcing Nissan calipers and rotors, machining the swing arm, and wiring in an emergency brake, with a second builder, Calvin Grannis, adding his own parts-sourcing notes at the end.
Specs
As the owner states it.
- Rear brakes
- Disc conversion using 1981-84 Nissan Maxima calipers and 1992 Nissan 240sx rotors (4x100mm, 258mm OD, 47mm hat height)
- Wheels
- 15x7 Panasport wheels, 3.9 inch backspacing (nominally zero offset); steel spare wheel
- Rear suspension
- Front-positioned springs retained, with converted gas shocks mounted at rear of swing arm
- Emergency brake
- Lokar emergency brake cable assembly, cut to length
- Studs
- Three-eighths inch stainless steel studs, 2 inches long, replacing stock studs
Parts used
What the owner names in the write-up, grouped the way the Parts page groups them. Where one of the shops we index lists the same thing for this car, it is shown underneath with a link to the shop.
Suspension & Steering 1
- TR4A/TR6 swing arm (used)
Bought cheap on eBay purely for mock-up and measurement so the car could stay on the road during development
In the shops Clutch Disc (TR4A to TR6) ↗
 bpnorthwest.com· $99.95 USD
 Handbrake Cable (TR4A-TR6) ↗
 Racetorations· £10.00 GBP
 Steering Lock Stop (TR4A-TR6) ↗Racetorations· £4.50 GBP
Brakes 8
- 240Z rear disc brake conversion kitModern Motorsports
Purchased for parts and to learn from, but bracket design did not fit the TR6 hub
In the shops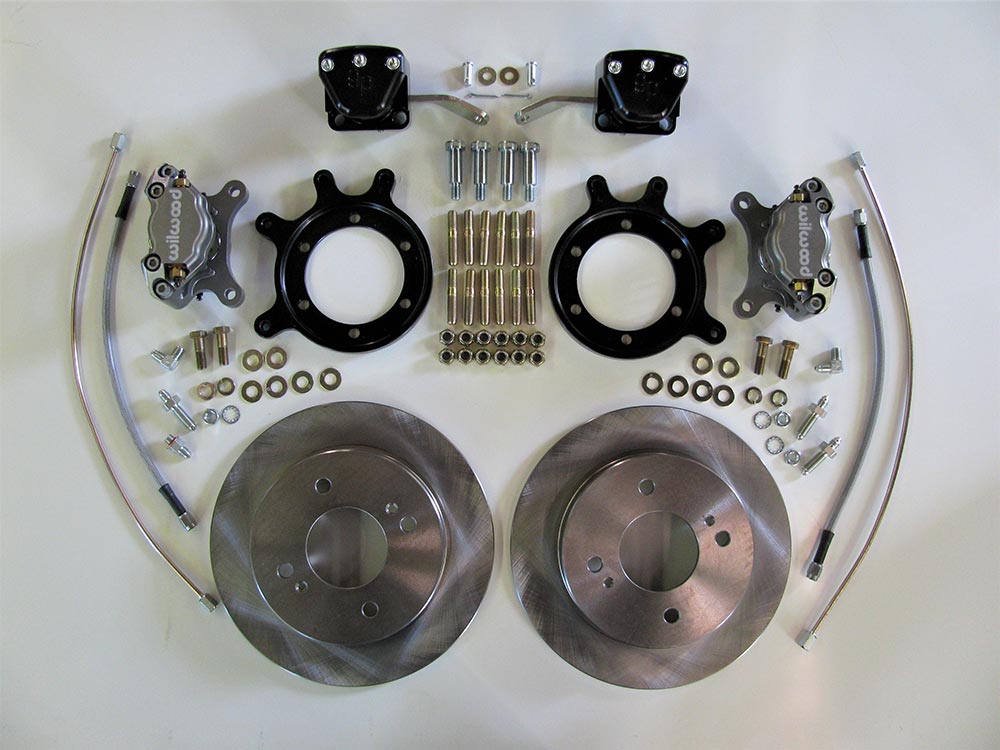 Rear Disc Brake Conversion Kit, TR4A IRS/TR6 ↗
 Good Parts· $1,099.00 USD
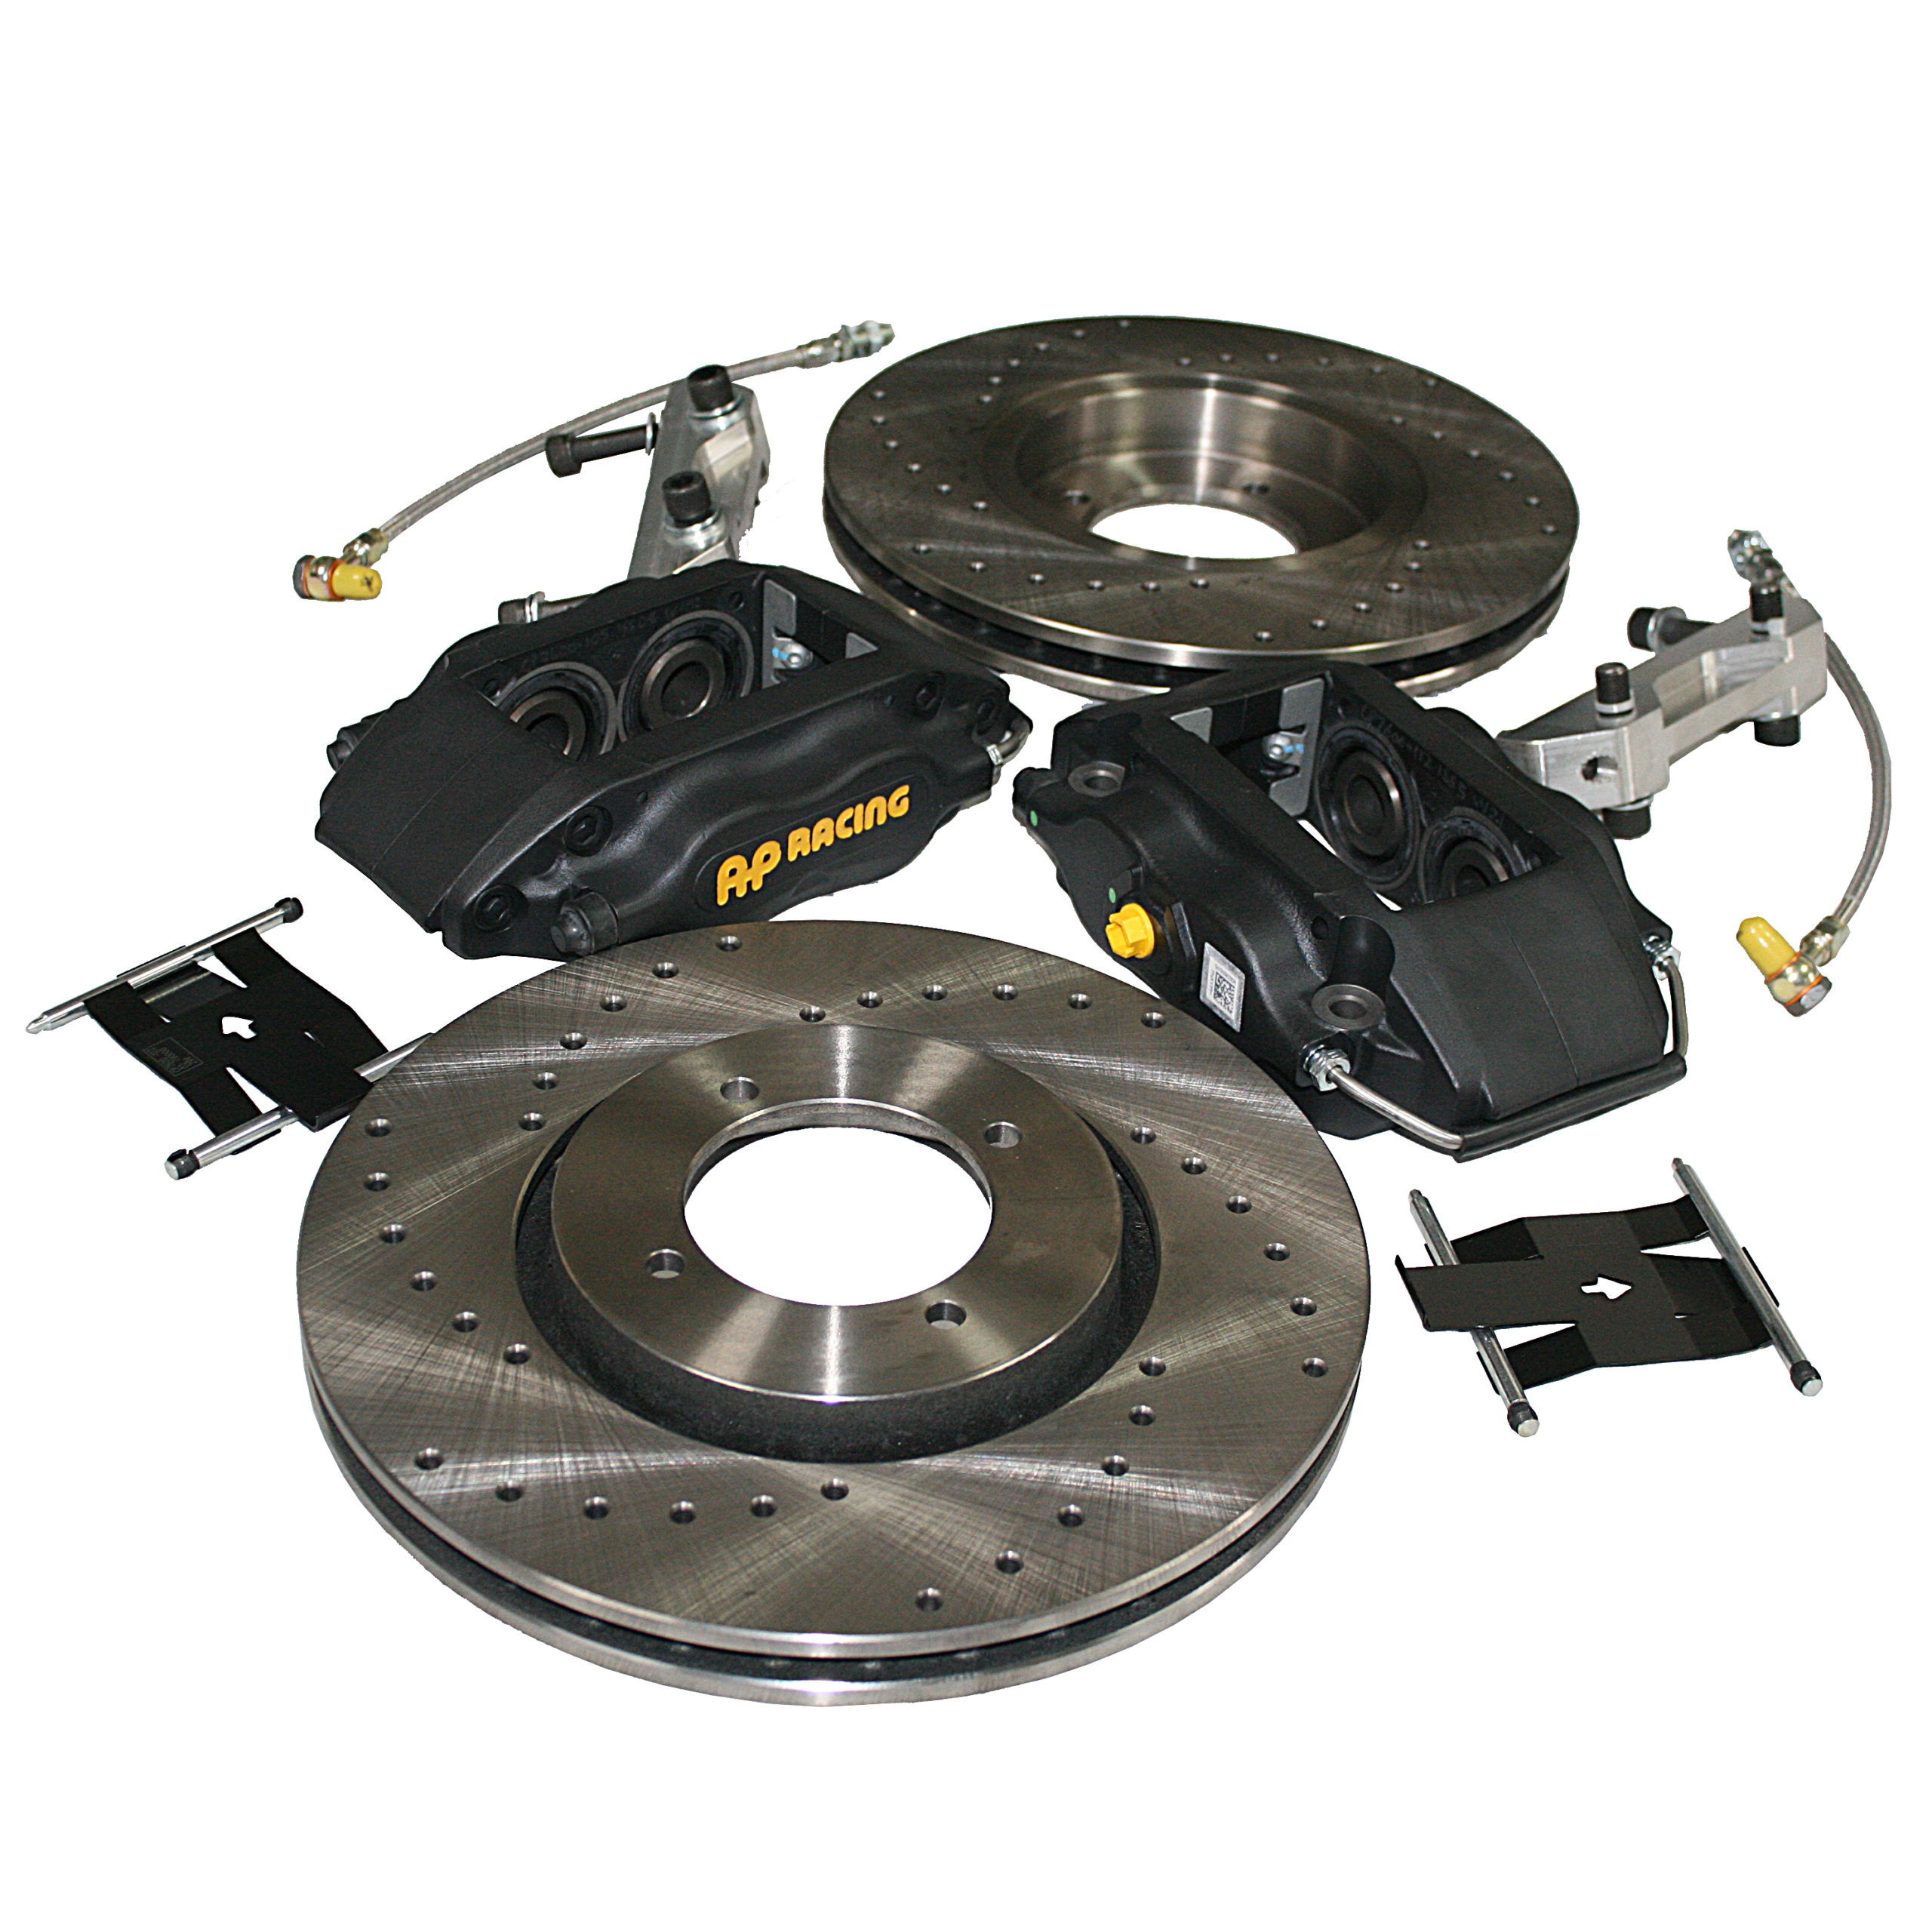 AP Racing 4-Pot Brake Caliper Vented Disc Kit (TR3-6) ↗Racetorations· £1,567.50 GBP
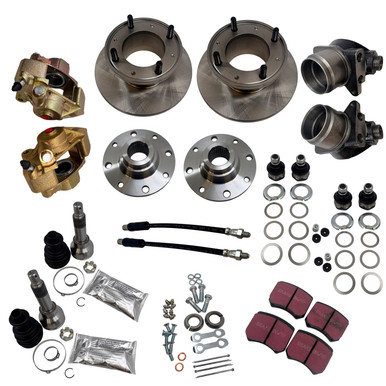 Front 7.5" Disc Brake Conversion Kit (Mini) ↗bpnorthwest.com· $1,347.18 USD
 - CAD-designed prototype caliper bracketsThe Columbus Machine Works, Inc.
Custom brackets made from CAD files, first in aluminum for mock-up then finalized in half-inch steel, to mount Nissan calipers on the TR6 swing arm
- 1981-84 Nissan Maxima brake calipersNissan
Fitted to the custom brackets as the rear disc calipers, includes integral cable-operated short-pull emergency brake
- 1992 Nissan 240sx brake rotorsNissan
Center hole enlarged 0.40 inch and retaining holes redrilled to fit the TR6 hub, later swapped for drilled and slotted versions
- Braided stainless steel brake hoses
Installed new to the calipers along with new lines and T-fittings, avoiding mixing old and new brake components
In the shops Stainless Steel Braided Brake Hose Set by Goodridge ↗
 Moss Motors – Triumph TR6/TR250· $166.00 USD
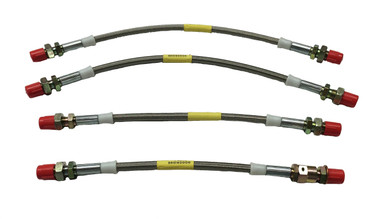 Braided Stainless Brake Hose Set by Goodridge (TR4A to TR6) ↗bpnorthwest.com· $139.95 USD
 Braided Stainless Steel Brake Hose Kit ↗Moss Motors – Triumph TR6/TR250· $40.00 USD
 - Lokar emergency brake cable assemblyLokar
Cut to length per included instructions to connect the emergency brake to the new calipers
In the shops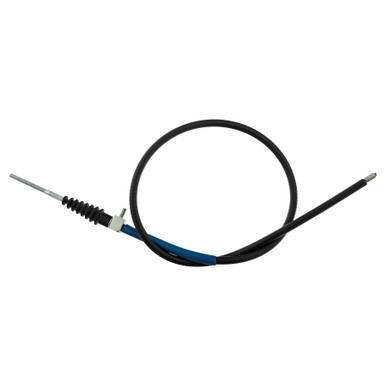 Emergency Brake Cable, TR4A to TR6 ↗bpnorthwest.com· $21.95 USD
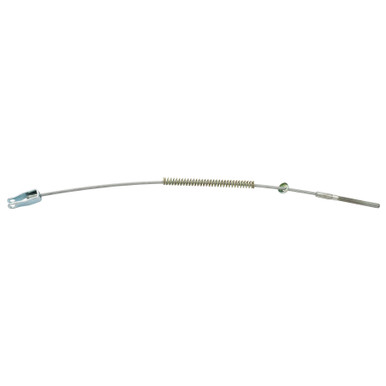 Front Emergency Brake Cable (Spitfire) ↗bpnorthwest.com· $12.88 USD
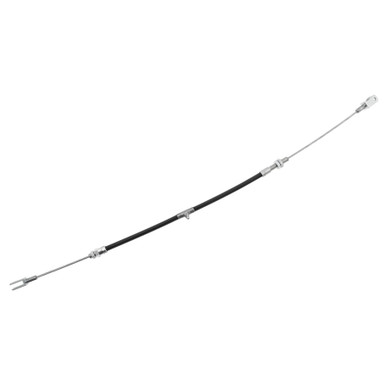 Emergency Brake Cable (Sprite and Midget to 76) ↗bpnorthwest.com· $30.83 USD
 - 1987 Nissan Maxima calipers (early/later type)Nissan
Sourced locally by Grannis as the correct caliper match after 240SX calipers failed to bolt up
- 240SX emergency brake cable bracketsNissan
Fitted onto the Maxima calipers by Grannis to redirect the e-brake cable toward the differential instead of upward
In the shopsEmergency Brake Cable, TR4A to TR6 ↗bpnorthwest.com· $21.95 USDFront Emergency Brake Cable (Spitfire) ↗bpnorthwest.com· $12.88 USDEmergency Brake Cable (Sprite and Midget to 76) ↗bpnorthwest.com· $30.83 USD
Wheels & Tyres 1
- Panasport 15x7 wheelsPanasport
Run with 3.9 inch backspacing, checked for clearance against the new rear disc setup
In the shops Panasport Wheel Caps ↗Moss Motors – Triumph TR6/TR250· $31.75 USD
 Panasport Z-Light Wheel, 16"x7" ↗Moss Motors – Triumph TR6/TR250· $368.25 USD
 Panasport Z-Light Wheel, 15"x6" ↗Moss Motors – Triumph TR6/TR250· $336.75 USD
Other 1
- Stainless steel wheel studs, 3/8 inch, 2 inch
Replaced shorter stock studs to accommodate half-inch thick brackets and avoid galvanic corrosion with aluminum swing arms
In the shops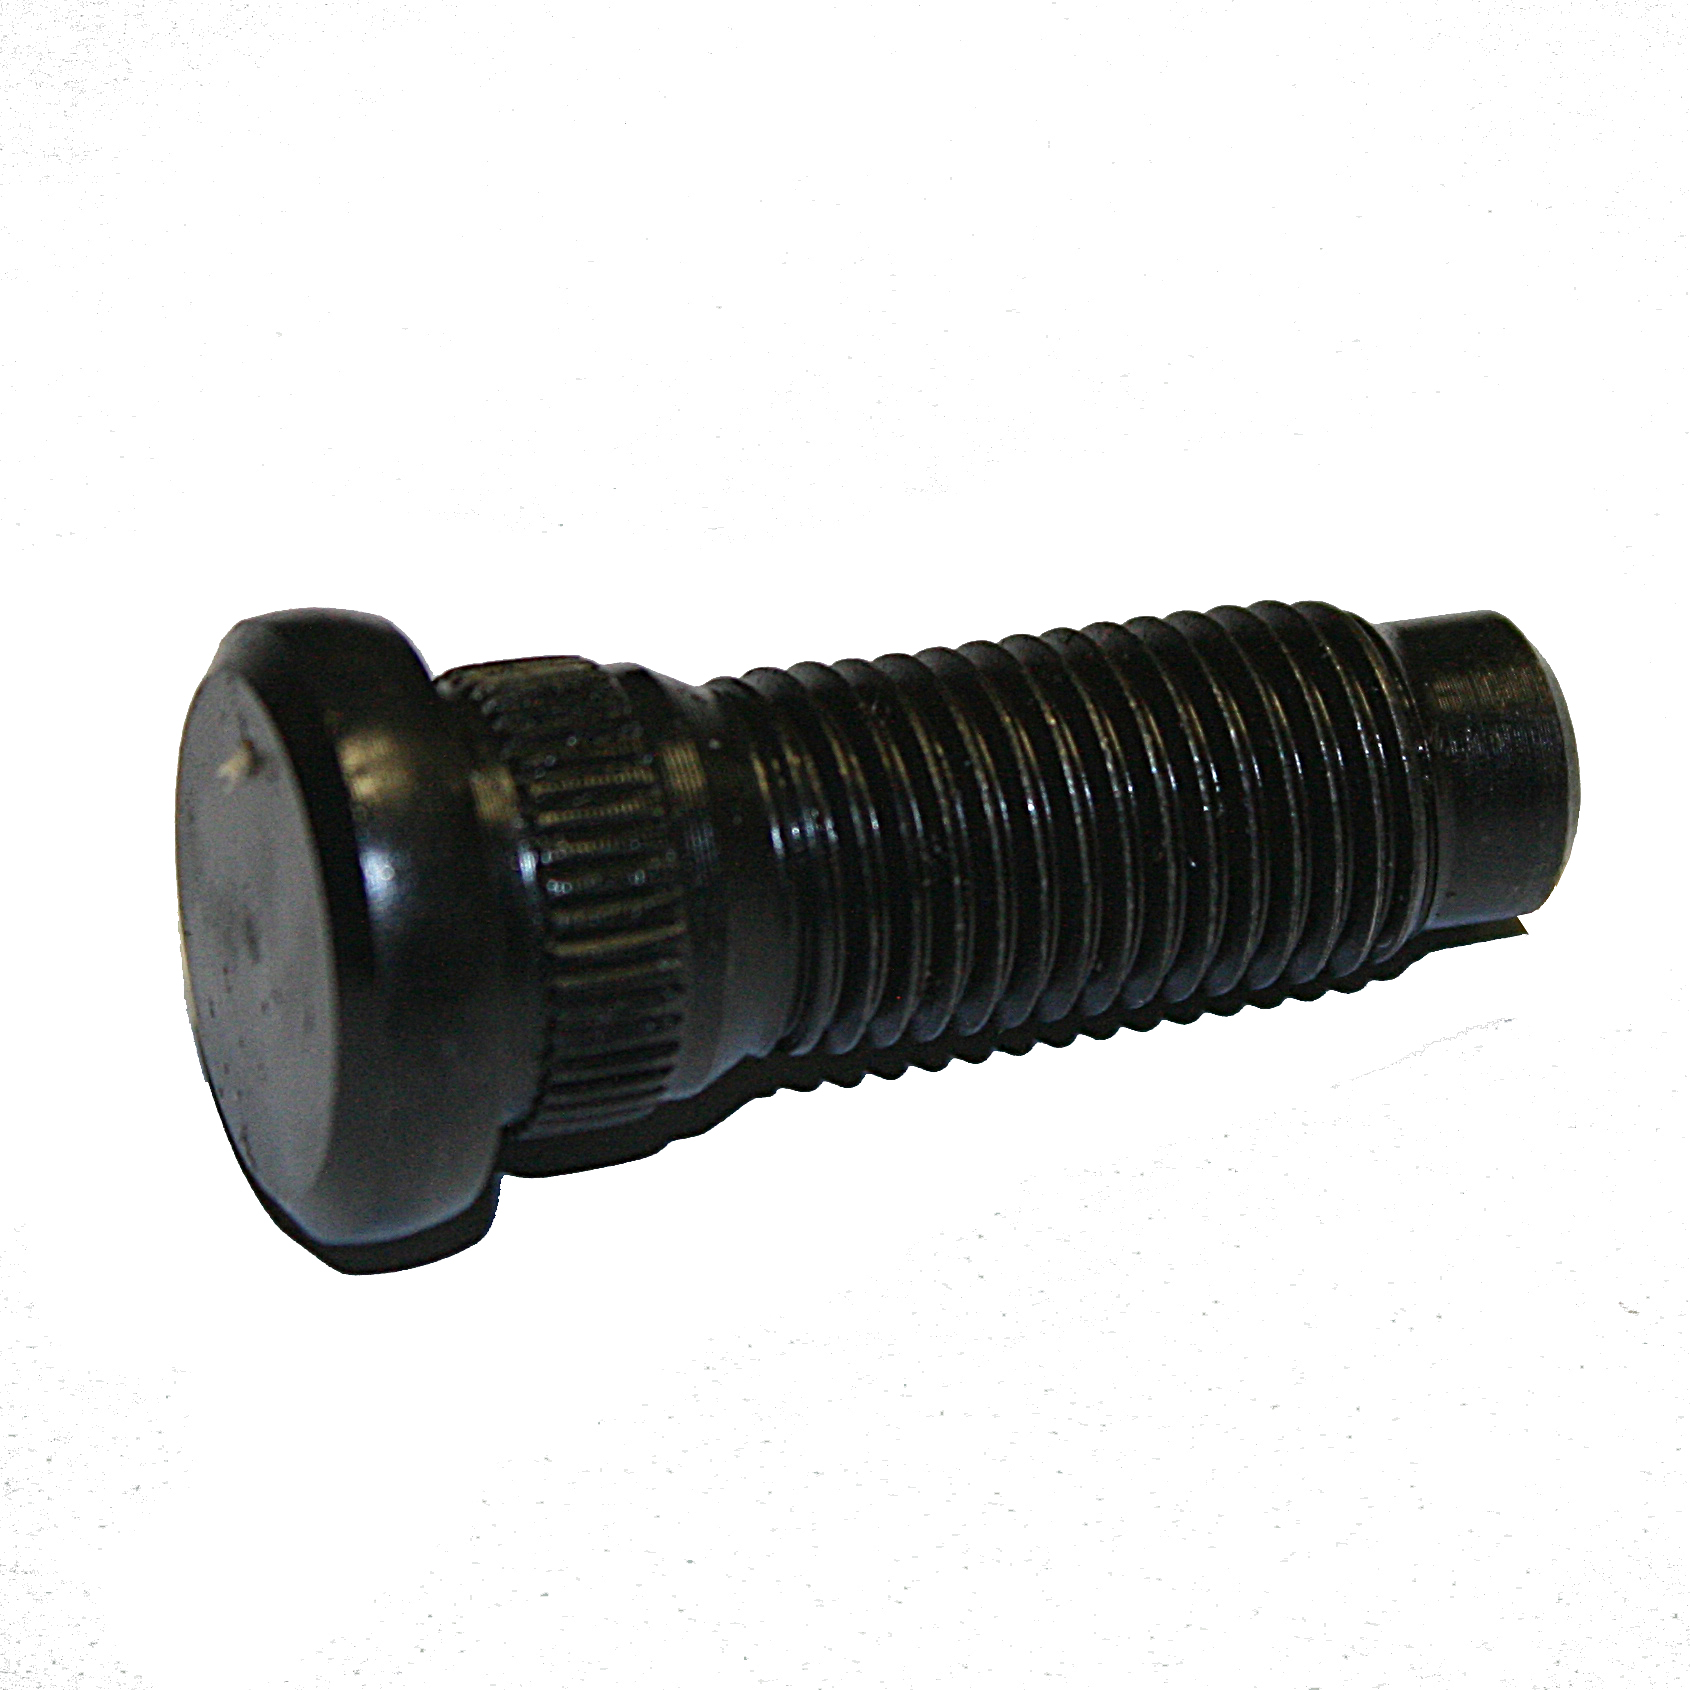 Front Hub Steel Wheel Stud (TR2-6) ↗Racetorations· £3.75 GBP
Photos
All 34 pictures in the write-up, in the order they were posted, shown from britishv8.org. A picture opens larger here, with the way through to the page it is on.
How it was done
The problem with drums
A routine rear brake job on Watson's 1974 TR6 left him frustrated with the maintenance hassle of drum brakes, prompting a search for a disc conversion. He found little in the way of a ready-made TR6 solution and decided to develop his own.
A false start with a Datsun kit
Watson bought a 240Z rear disc conversion kit from Modern Motorsports hoping to adapt its brackets. He learned the Z's hub mounting and diameter differed too much from the TR6, and the kit's three-bolt semi-arch brackets would not work without weakening changes. The calipers themselves still looked usable.
Mocking up on a spare swing arm
To avoid taking his car off the road, Watson bought a cheap used TR4A/TR6 swing arm for mock-up purposes only. Using this, he measured and had prototype brackets made from CAD files by The Columbus Machine Works in Columbus, Ohio, first in aluminum, then finalized in half-inch steel.
Stripping the hub and fitting studs
He removed the wheel, drum, e-brake cable, shoes and hub, replacing the u-joint while access was easy. Stock studs were too short for the half-inch brackets, so he fitted 2-inch stainless steel studs to prevent galvanic corrosion with the aluminum swing arms, checking they sat square and centered.
Fitting calipers and rotors
Brackets were made for 1981-84 Nissan Maxima calipers, mounted at six o'clock under the swing arm to clear the shock and springs. He sourced 1992 Nissan 240sx rotors, enlarging the center hole and redrilling retaining holes to fit the TR6 hub, later upgrading to drilled and slotted rotors for appearance.
Lines, bleeding and e-brake
All brake lines and fittings were replaced with new braided stainless hoses to avoid mixing old and new components. Because the calipers sit low, he bled them upright, then connected a Lokar emergency brake cable assembly cut to length.
Wheel fitment check
Running 15x7 Panasport wheels with 3.9 inch backspacing, Watson checked clearance against both the Panasports and his steel spare wheel to ensure the new calipers and rotors did not interfere.
Calvin Grannis continues the build
Grannis bought Watson's brackets and sourced calipers locally, initially getting the wrong 240SX parts before finding that 1987 Nissan Maxima calipers worked, noting an early/late design change partway through that year. He matched 1992 240sx rotor diameters to the old Triumph drums on a lathe and swapped in 240SX e-brake cable brackets to redirect the cable path toward the differential.
A summary in our own words. The full account, with all its detail, is the owner's: read it at britishv8.org ↗
Worth knowing
- A donor kit's calipers may work even if its brackets do not fit your car.
- Mock up the conversion on a spare swing arm so the car stays drivable during development.
- Use stainless steel studs where mating steel brackets to aluminum swing arms to avoid galvanic corrosion.
- Mounting calipers low on the swing arm means you must bleed them in an upright position.
- Check that the exact caliper part number matches, since same-model Nissan calipers changed mid-year.
- Do not mix new and old brake components; replace lines and hoses as a full system.